Animation Tutorial
Dances with Cactii
In this tutorial, we will export from Lightwave an animated scene and then import the result to Jot.
Load the lightwave scene in Ligthwave.
C:\ cd JOT_ROOT
C:\ cd manual\tutorials\tutorial-4\lw_files
C:\ lightwav.exe cactus_dancing.lws
Manually indicate to Lightwave the location of object file: manual\tutorials\tutorial-4\lw_files\cactus_dancing.lwo.
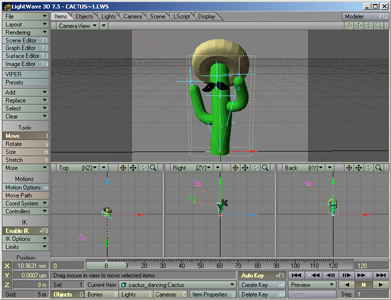
Cactus model loaded in Lightwave.
Attach script scripts\lw2jot_point_position.ls to every piece of geometry to be exported.
Click on Objects and then click on Item Properties. This will bring up the object properties window.
Lightwave GUI.
Lightwave GUI.
Select Deform tab.
Lightwave GUI.
For each non null object in the scene
Lightwave GUI.
Click on Add Displacement and choose "LScript".
Lightwave GUI.
Double click on LScript and choose file scripts\lw2jot_point_position.ls.
Lightwave GUI.
Lightwave GUI.
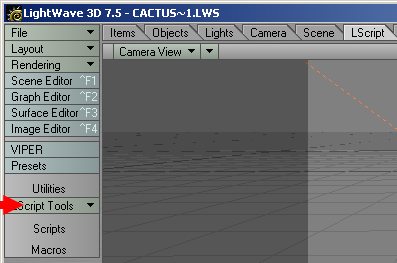
Execute the export script scripts\lw2jot.ls.
Click LScript tab.
Lightwave GUI.
Click LScript Tools->LScript and choose the file scripts\lw2jot.ls.
Lightwave GUI.
Click through the warning box.

Lightwave GUI.
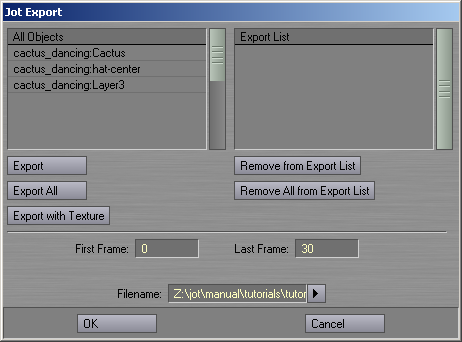
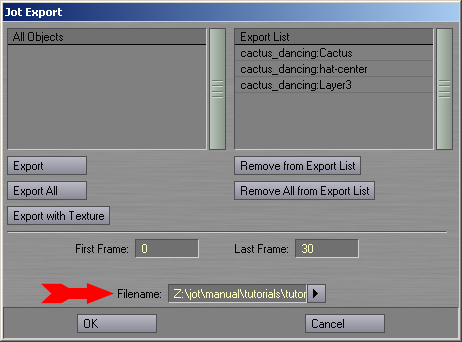
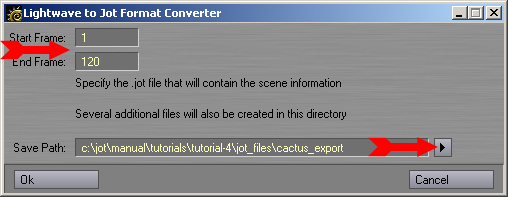
Set "Start Frame" to 1 and "End Frame" to 120. Change the "Save Path" to \manual\tutorials\tutorial-4\jot_files\ and export file prefix cactus_export.
Lightwave GUI.
Click through this info box.

Lightwave GUI.
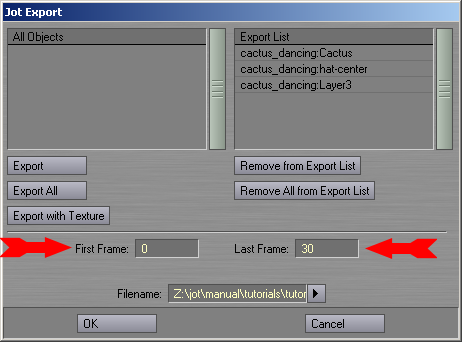
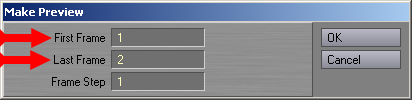
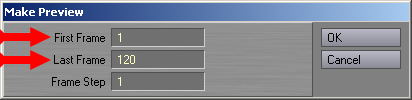
Set "First Frame" to 1 and "Last Frame" to "First Frame" + 1 = 2.
Lightwave GUI.
Click on End Preview and the time line should run from start to end frame.

Lightwave GUI.
Click through the info box.

Lightwave GUI.
Set "Start Frame" to 1 and "End Frame" to 120. The time line should run from start to end frame again.
Lightwave GUI.
Click on End Preview.
Lightwave GUI.
Click through the info box and wait for the export to proceed...

Lightwave GUI.
Done!

Lightwave GUI.
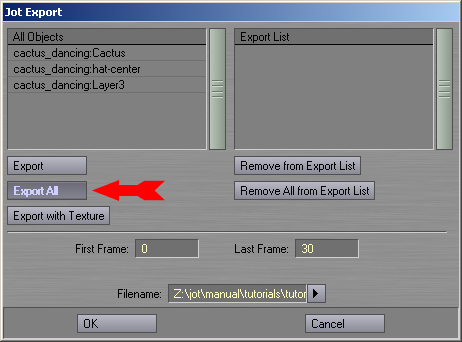
Now import the exported files in directory manual\tutorials\tutorial-4\jot_files into Jot. (A copy of the files which should have exported into the directory manual\tutorials\tutorial-4\jot_files is provided in manual\tutorials\tutorial-4\jot_files.bak.)
C:\ cd JOT_ROOT
C:\ cd manual\tutorials\tutorial-4\jot_files
C:\ jotq cactus_export.jot
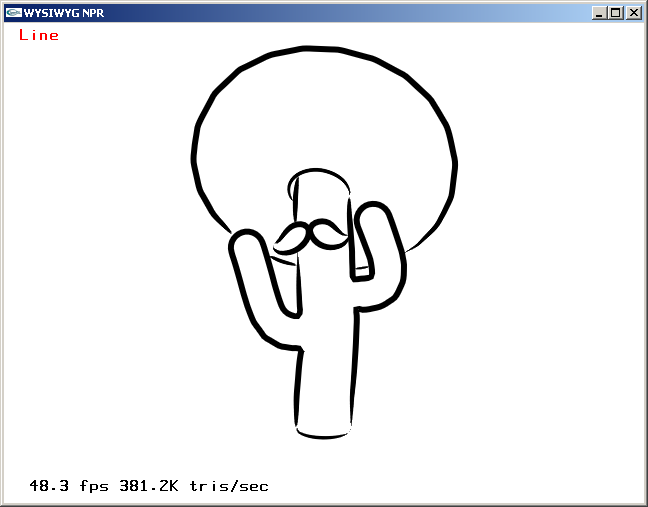
Cactus model with default style.
The various components of the cactus can be stylized using the techniques demonstrated in the previous tutorials. You may stylized this cactus and save the result by pressing s. However, manual\tutorials\tutorial-4\jot_files.npr contains another copy of the exported files which already have been stylized.
C:\ cd JOT_ROOT
C:\ cd manual\tutorials\tutorial-4\jot_files.npr
C:\ jotq cactus_export.jot

Cactus model with npr style.
To access the other frames of the animation, engage Animator Mode by pressing X. (WYSIWYG NPR rendering window must have focus to receive keystroke commands.)
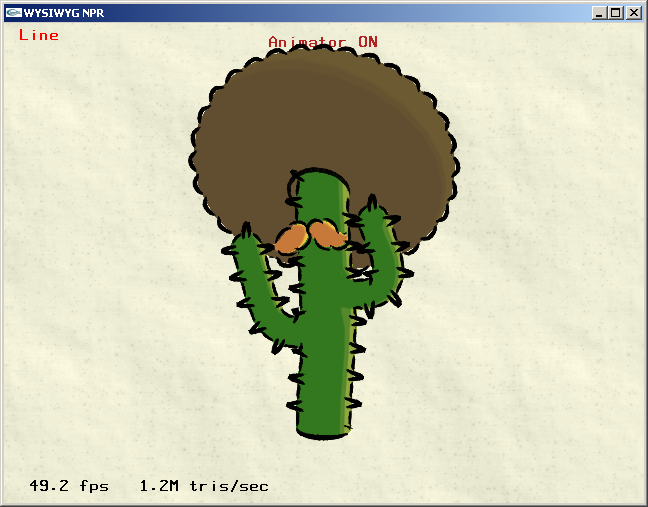
Cactus model with Animator Mode ON.
Step through the frames using the numeric keypad: 4 and 6 step backward and forward by one frame; 2 and 8 step backward and forward by ten frames; 5 returns to the first frame.
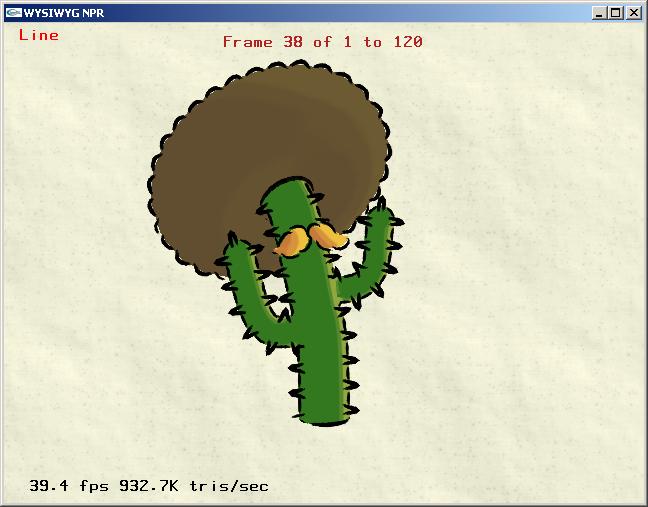
Stepping through the frames of the cactus animation.
To play back the entire animation, press /. Press + to stop. (Each frame is loaded from disk, so playback is slooow. Don't ask...)
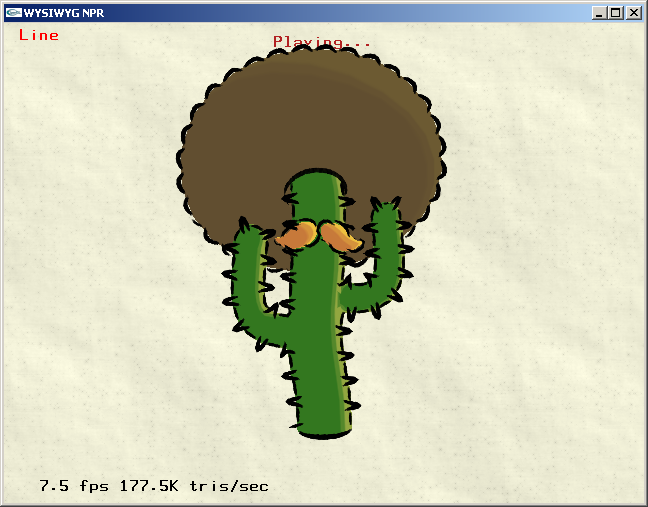
Playing the cactus animation.
To render frames to disk, engage time sync with - and render mode with *.
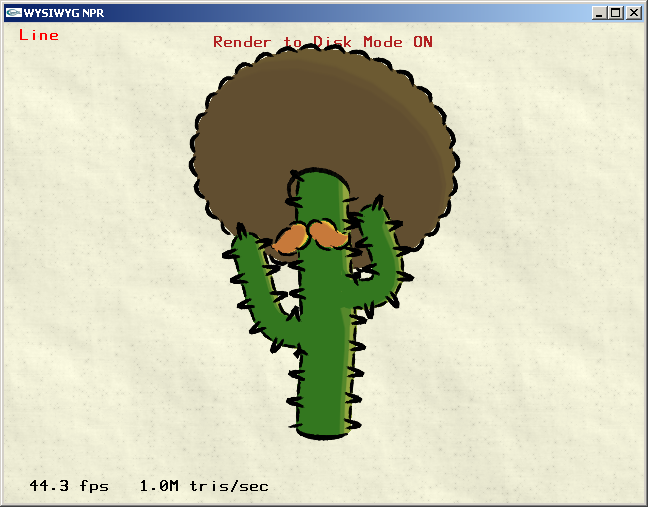
Engaging render to disk mode.
Pressing / now with render to disk mode on will play back the frames and render them to disk. (A DivX movie file of these frames is provided: manual\tutorials\tutorial-4\jot_files.npr\cactus_export.avi).
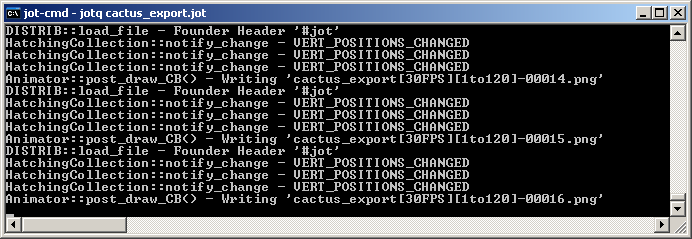
Frames are rippen to disk.